Create a Group Folder in Resources

What Does It Do?
With the Resources tool, professors can share class materials with students. There is also a way to selectively share materials with specific groups of students. This can be helpful to enable team projects and collaboration among students.
How You Can Use It
- Share unique materials to specific student group teams
- Allow groups or roles to upload content into specific folders
Note: If you plan to share a folder with a group, you must first create the group(s).
Instructions
Create a Folder for a Group
- Click the tab for your course or project site.
- Click Resources in the left menu.

- Click Actions and select Create Folders.

- Enter a folder name (e.g. "Team 1 Documents").
- Click Add details for this item.

- (Optional) Enter a description.
- Select Display this folder and its contents to selected groups only.

- Note: This option will only appear if you have already created groups.
- Select the group(s) that you want to see the folder.
- Click Create Folders Now when finished.

Allow students to add documents to a folder in Resources
If you would like to allow participants, such as students, to upload as well as view documents in a folder, you can change the folder permissions.
- Click the tab for your course or project site.
- Click Resources in the left menu.
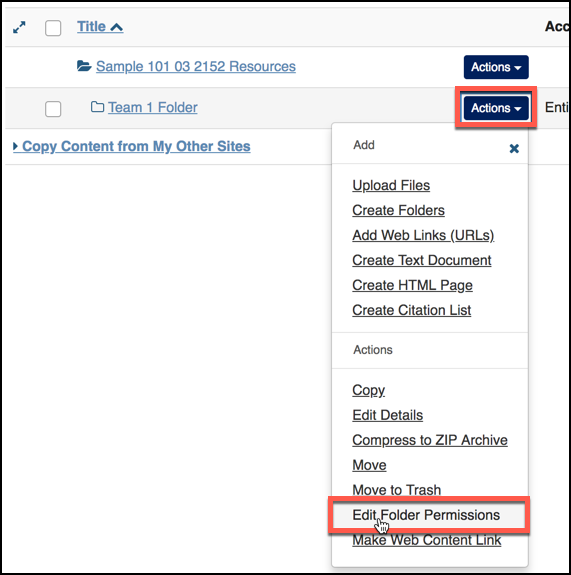
- To the right of the specific folder, click Actions and select Edit Folder Permissions.
- Important: Pay close attention to the folder you select! If you select the top-most
folder (usually named after the class or site title), then you will be editing permissions
for every folder in Resources. Therefore, please be sure to edit permissions only
for the specific folder(s) you wish to allow extra abilities for participants. For
this reason, we only recommend enabling options limited to "own" instead of "any."
- For the role(s) you wish to allow extra abilities:
- Select "Create Resources" to allow participants to upload materials into the folder.
- Select "Edit own resources" to allow participants to modify the documents that they
upload, but not your files or the files of other participants.
Select "Delete own resources" to allow them to remove their own materials. - If you select options for "Edit any resource," then the participants can change the materials that you or others have created. For this reason, we only recommend enabling options limited to "own" instead of "any."
- If you select "Read hidden resources," then participants will be able to read any materials, even those that you may have specifically hidden, including date restrictions or conditional release. For this reason, we recommend that you do not select this setting.
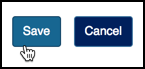
- Click Save when finished.
See Also: