Using the Assignments Tool in Courses
What Does It Do?
The Assignments tool allows you to administer student assignments online. Faculty can collect, download, grade, comment on, and return an assignment to students via the Courses interface.
How You Can Use It
- Collect individual or group assignments online
- Provide detailed feedback to students, including text or file attachments
- Leverage peer review or anonymous grading options to meet your assessment goals
- Link Assignments to Gradebook to calculate overall course grades
Instructions
- Click the tab for your course or project site in your Favorites Bar, or click the "Sites" menu at the top right and click the desired course.
- Click the "Assignments" tool in the left tool menu.

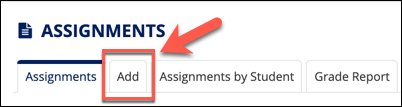
- Click "Add" to add a new assignment.
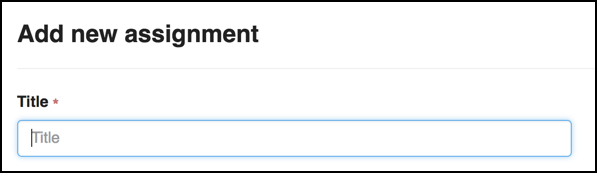
- Fill in the assignment title in the "Title" box.
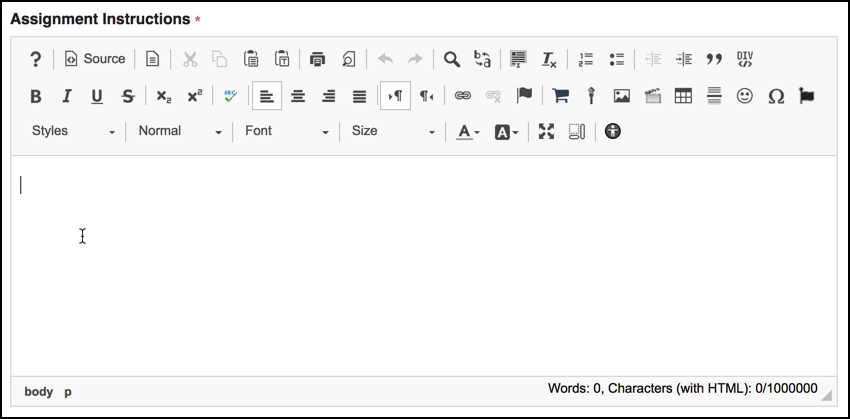
- In the "Assignment Instructions" box enter any instructions students need to know
about the assignment. The more detail, the better. For example, if you expect Microsoft
Word documents as file attachments, be sure to specify this requirement. We also
recommend repeating the deadline for added emphasis.
- (Optional) Add an honor pledge. If checked, students must agree to a statement about not giving, receiving, or utilizing any unauthorized assistance on the assignment. Students must agree to the honor pledge before submission.
- (Optional) Add an attachment. Instructors may wish to attach additional details and/or instructions regarding the assignment. Students will be able to view these attachments when the assignment becomes open.
- Under the "Availability" section:
- Set the "Open Date": Students cannot view or submit an assignment until after the open date.
- Set a "Due Date" when the assignment is due.
- Set the "Accept Until" date. This allows late submissions and is highly recommended to save your inbox from last-minute attempts. Late submissions are tagged as late.
- (Optional) Additional availability options:
- Send a reminder email 24 hours before the due date: Allows instructors to configure the system to send an email reminder 24 hours before an assignment due date. Only students who have not yet submitted the assignment will receive a reminder.
- Hide due date from students: If checked, this feature will not display the due date of the assignment to students. This option is not recommended for most assignments.
- Add due date to calendar: If this option is checked, then a calendar item marking the due date of this assignment will be generated for the calendar tool. Note: this option will not be available if the Calendar tool has not been added to your site.
- Add an announcement about the open date to Announcements: This option, if checked, allows instructors to add an announcement to the Announcements tool regarding the open date of the assignment. Instructors will also be presented with the option to send out an email notification.
- Under the "Assign To" section, select the "Each individual member of the site" option if the assignment is intended for all students. Select "Each individual member of the selected group(s)" if the assignment is intended for each member of the selected group(s) to submit the assignment individually, and select "The selected group(s), as a group assignment (one group member submits on behalf of the entire group)" if you prefer to have one group member submit the assignment on behalf of the entire group. Note: Displaying only to specific groups requires student groups to have been created within the "Manage Groups" tab of Site Info.
- Under the "Student Submissions" section, select the "Student Submissions" type to determine how students are allowed to submit their assignments. Note: If
using Turnitin, please select "Single Uploaded File only."
- Inline only: Allows students to submit their assignment by typing (or copy/paste) in the text box. This allows you to grade all submissions without having to download and open attachments.
- Attachments only: Removes the text box and leaves the attachment format for students to submit their assignment file.
- Inline and Attachments: Allows students to type (or copy/paste) in the text box (inline) and to attach one or more files for submission.
- Non-electronic: This format is for hard-copy/paper assignments that students will hand-in to you. This gives an instructor assignment details and grade recording.
- Single Uploaded File only: This format is for students to turn in a single file and is used with plagiarism detection (Turnitin).
- External Tool (LTI): This submission type is only used in special cases and is not relevant to a vast majority of instructors at this time. Please reach out to the TechLearn team if you have questions about this feature.
- Video Submission: If you would like submissions in video format, select this option.
- (Optional) Turnitin Plagiarism Service:
- Instructors have the option to enable the Turnitin plagiarism service for assignments. CRITICAL: before enabling Turnitin, instructors must read and implement the guidelines established in the Pepperdine Turnitin Policy. See more information on Turnitin.
- Under the "Grading" section:
- Select the type of "Grade Scale" for this assignment. If you plan to link with the Gradebook, you must select "Points" and then enter the appropriate value in the "Max Points" field. Note: if the points scale option is selected, then instructors will have the option to attach a rubric to the assignment. See Rubrics.
- Decide if you want to link grades to the Gradebook. If so, select "Send Grades to the Gradebook."
- TIP: If you haven't created your Gradebook categories yet, be sure to set up your Gradebook before adding assignments. You'll save yourself a lot of time!
- (Optional) Consider additional features. Explore the built-in help by clicking the "Help" link at the top right of the tool to explore other features.
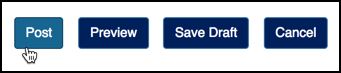
- Click "Post" at the bottom of the page to publish the assignment. Note: Instructors may click
the "Save Draft" button to save the assignment draft for later posting. Instructors may also click
the "Preview" button to view a preview of their assignment.
Grade an Assignment
- In your class site, click "Assignments" in the left tool menu.
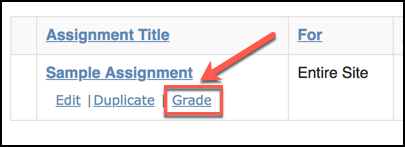
- Click "Grade" beneath the specific assignment title. Note: If you did not specify a grade scale
for the particular assignment, you will not see "Grade" beneath the title.

- To view an individual student's work and grade it, click the student's name on the list.

- Review the student's submission. Depending upon the type of student submission you selected for the assignment, you may see an attachment or view the student's inline submission.
- Specify a grade in the "Grade" field. Note: you will be prompted for a grade that conforms to the Grade Scale you selected for the assignment. Instructors may also grade using attached rubrics. For more information on grading with rubrics, see the Rubrics documentation.
- (Optional) In the "Instructor Summary Comments" field, type in feedback related to the student's performance on the assignment.
- (Optional) Click "Add Attachments" to return a file to the student. This can be useful if you have marked-up a student's submission with comments.
- (Optional) Click the checkbox to "Allow Resubmission" for this assignment. Note: you will be prompted to specify the number of resubmissions allowed and the "Accept Until" date.
- Choose either "Save and Don't Release to Student" (to save your changes but not show the student the grade yet) or "Save and Release to Student" (to save your changes and allow the student to view your feedback). Note: Any unsaved comments or information will be lost if you navigate away from the page without saving first.
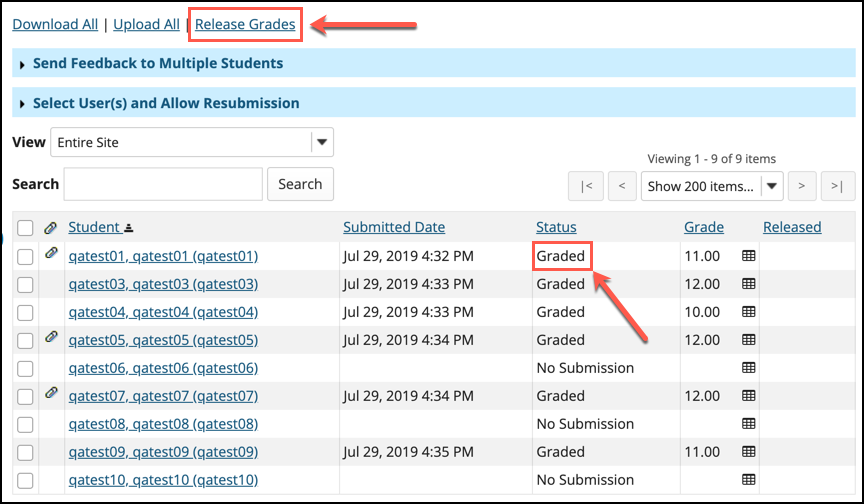
- Click "Return to List" and the individual student's status will change to "Graded." If you did not already
return the grade, click "Release Grades" when ready so that students may view their grades and feedback. Verify that the
grades are viewable by the check mark listed in the "Release" column next to each
name (Note: Check marks are not shown in image below).
Grade Assignments using New Grader feature
- In your class site, click "Assignments" in the left tool menu.

- Click "Grade" beneath the specific assignment title. Note: If you did not specify
a grade scale for the particular assignment, you will not see "Grade" beneath the
title.
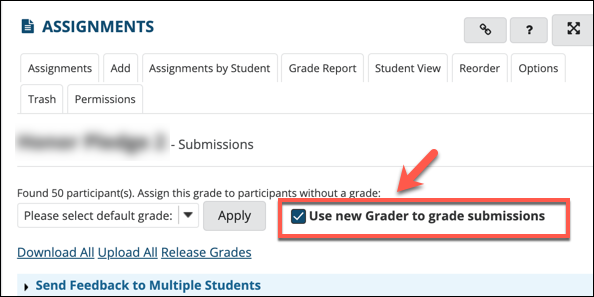
- Click the "Use new Grader to grade submissions" checkbox. (See screenshot below).
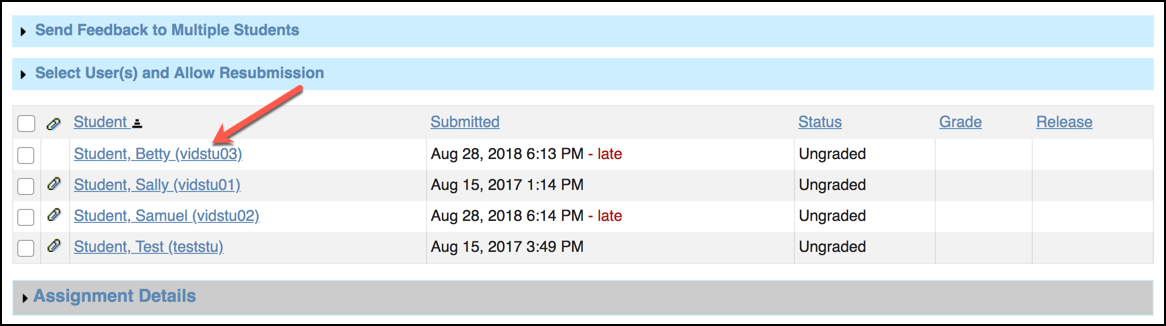
- To view an individual student's work and grade it, click the student's name on the
list.
- View/Observe the new Grading view. You should be able to see the student's submission without needing to download it.
- Specify a grade in the "Grade" field. Note: you will be prompted for a grade that conforms to the Grade Scale you selected for the assignment. Instructors may also grade using attached rubrics. For more information on grading with rubrics, see the Rubrics documentation.
- (Optional) In the "Feedback Comment" field, type in feedback related to the student's performance on the assignment.
- (Optional) Click "Add Attachments" to return a file to the student. This can be useful if you have marked-up a student's submission with comments.
- (Optional) Click the checkbox to "Allow Resubmission" for this assignment. Note: you will be prompted to specify the number of resubmissions allowed and the "Accept Until" date.
- Choose either "Save and Don't Release to Student" (to save your changes but not show the student the grade yet) or "Save and Release to Student" (to save your changes and allow the student to view your feedback). Note: Any unsaved comments or information will be lost if you navigate away from the page without saving first.
- Click "Return to List" and the individual student's status will change to "Graded."
If you did not already return the grade, click "Release Grades" when ready so that
students may view their grades and feedback. Verify that the grades are viewable by
the check mark listed in the "Release" column next to each name (Note: Check marks
are not shown in image below).

