Discount Codes
Process
Follow the steps below to create discount codes. After the discount code is created, event planners need to attach them to items.
Creating a Discount Code
- [Select] the eStore app, and [Click] the Source Codes tab.
- From the Source Codes tab page, [Click] the New button.
- The screen should look like the below.

- The screen should look like the below.
- In the Source Code field, [Enter] the desired source code (i.e. FREE).
- In the Channel picklist, [Select] the 'Event Sponsorship' channel to track source code related transactions.
- Next to the Business Group field, [Click] the Lookup Button.
- In the Lookup window, [Select] 'Pepperdine University.'
- If not checked, [Check] the Active checkbox.
- [Click] Save.
Attaching Discount Codes to an Item
- In the Search Box, [Type] in the name of the event and hit [Enter].
- [Click] the Event Builder button.
- [Select] the Tickets tab to find the Item that should receive the discount pricing.
- Under Actions, [Click] on '...' and [Select] Edit Price Rules.
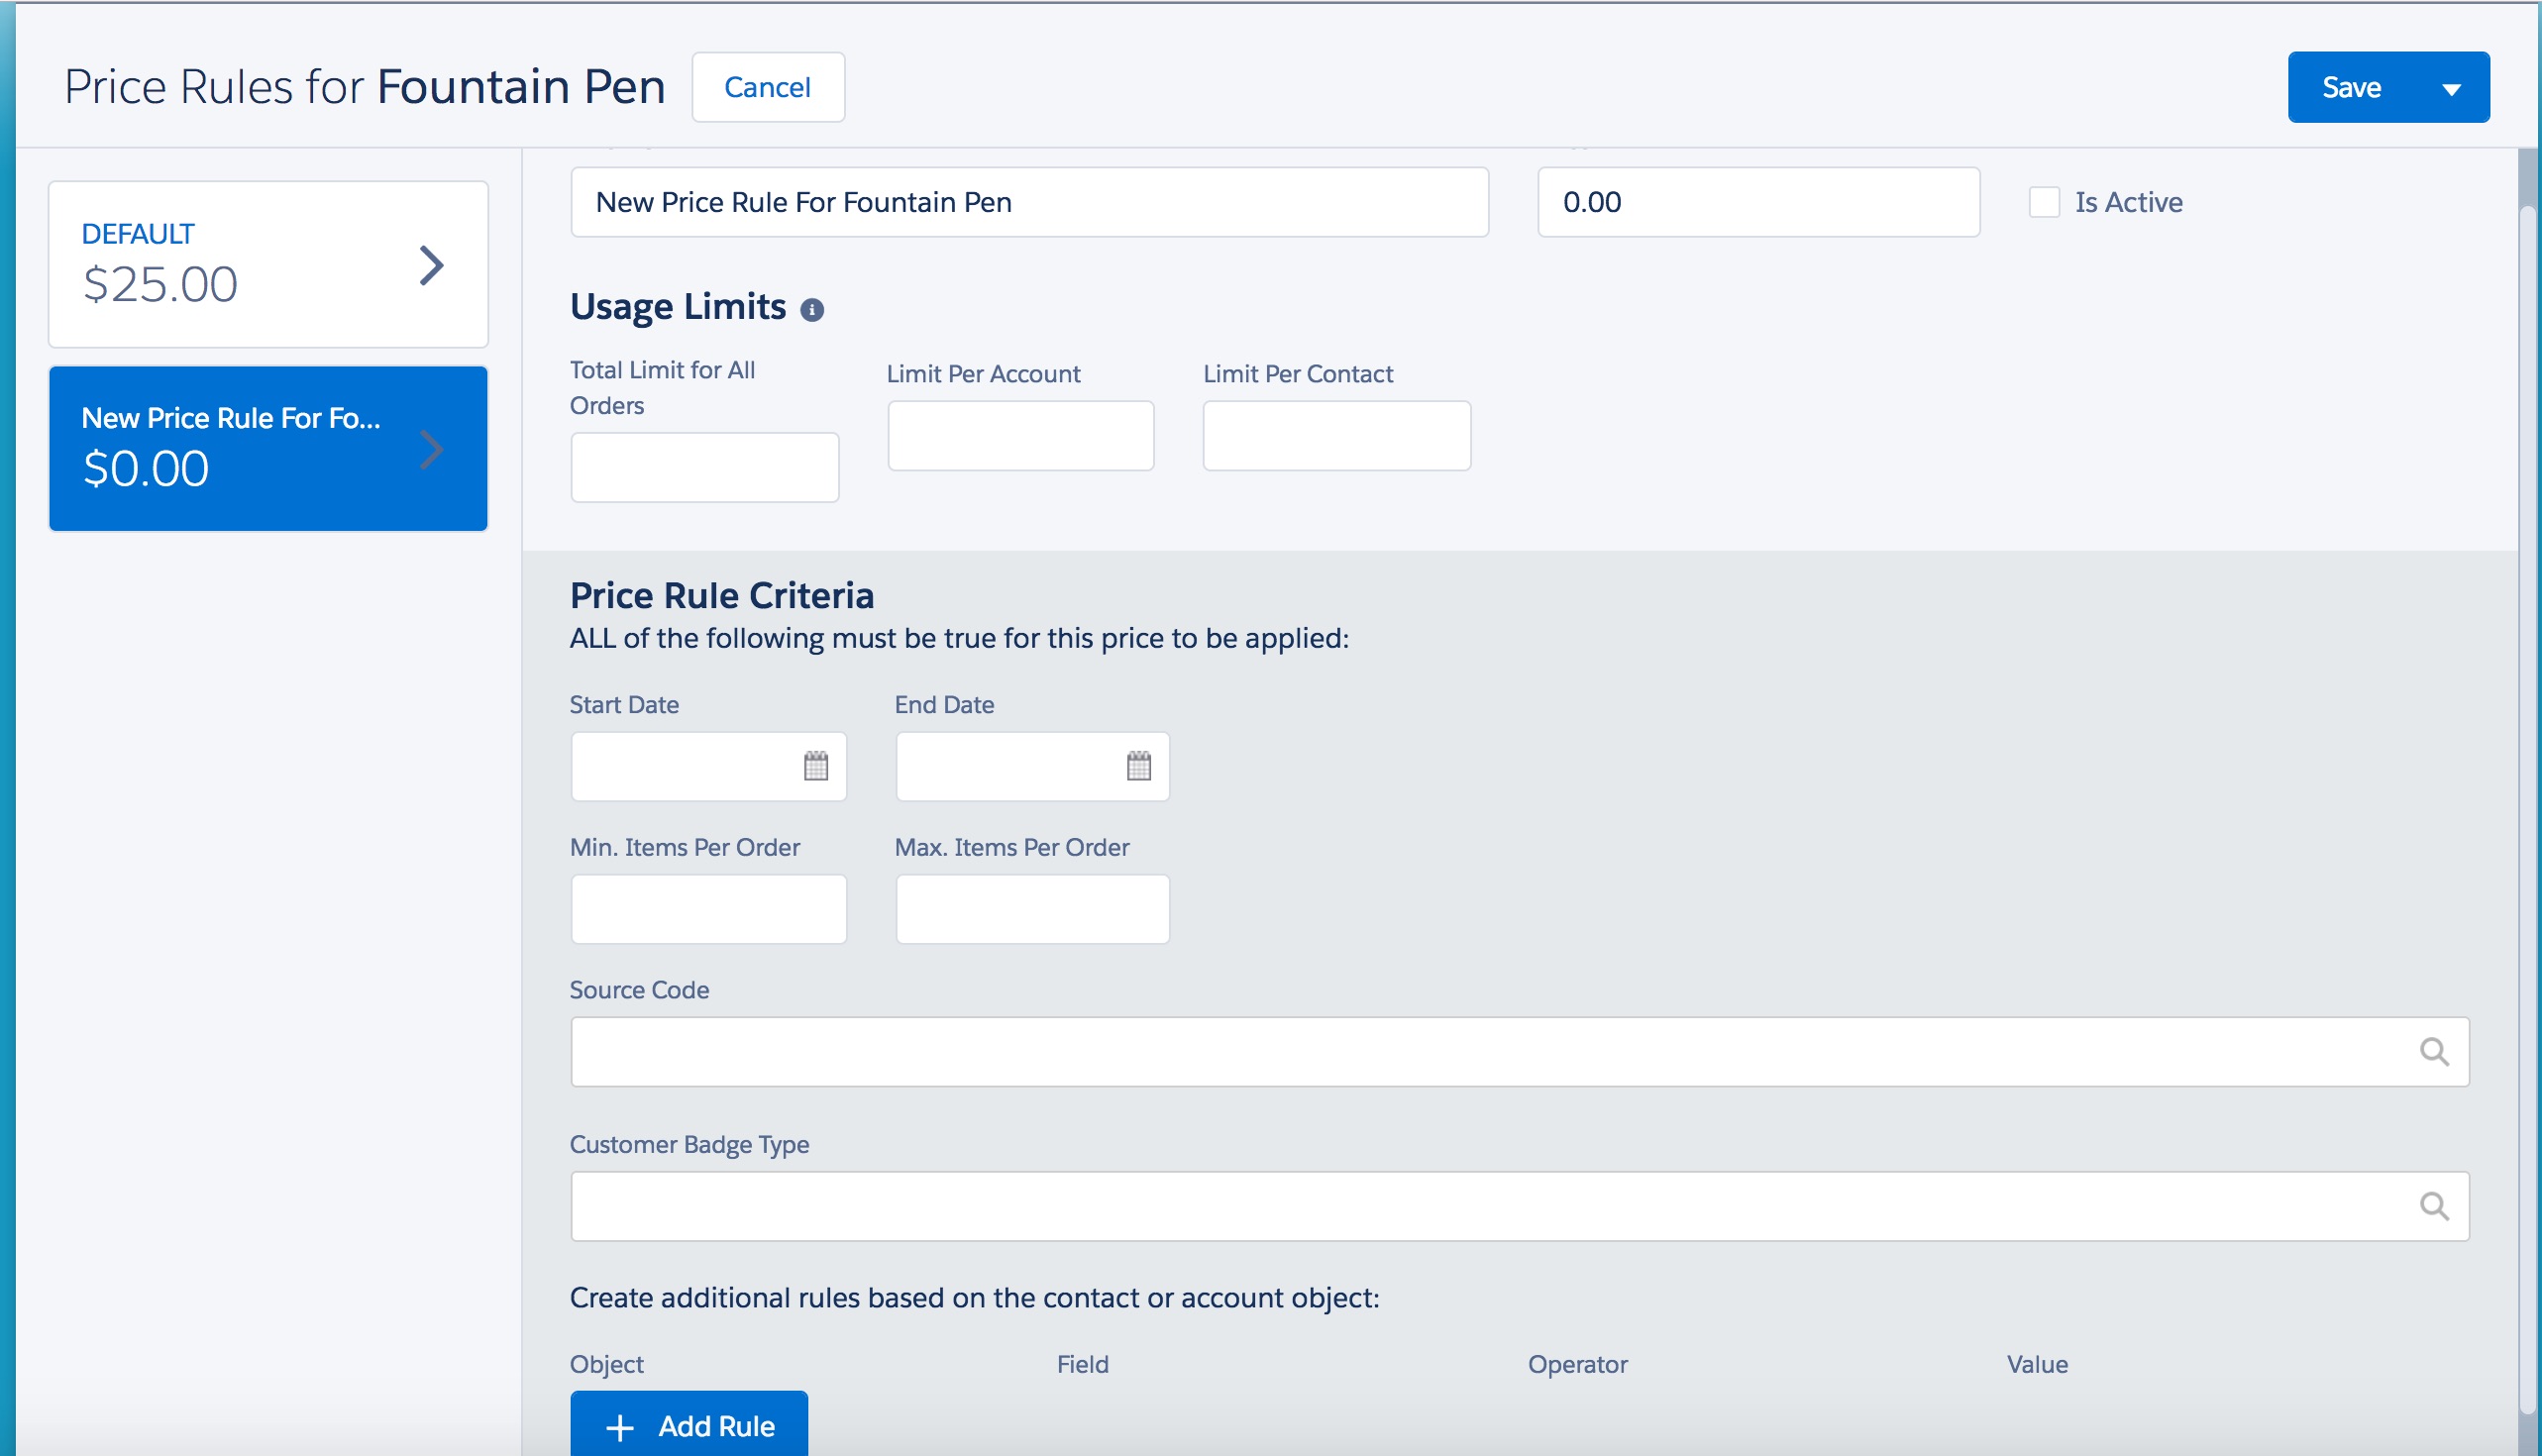
- This will launch users to a new page that looks like the below.

- Note: The DEFAULT price should already be listed.
- This will launch users to a new page that looks like the below.
- [Click] on the dropdown arrow next to Save and [Select] Save & New.
- [Enter] the new Name and a Price for the Item.
- The name should be [Source Code] Price Rule for [Item] (i.e. FREE Price Rule for Fountain Pen).
- The Price should be the price of the Item after the discount code is applied.
- I.e. the Item costs $10, but it it should be $8 after the discount code. The Price field should be $8.
- [Check] the Is Active checkbox.
- In the Price Rule Criteria section, [Click] on the Source Code field and [Type] in the discount code name.
- [Select] the correct Source Code.
- [Click] Save.