Don't Be the Weakest Link!
Learn to Craft Useful and Effective Web Links
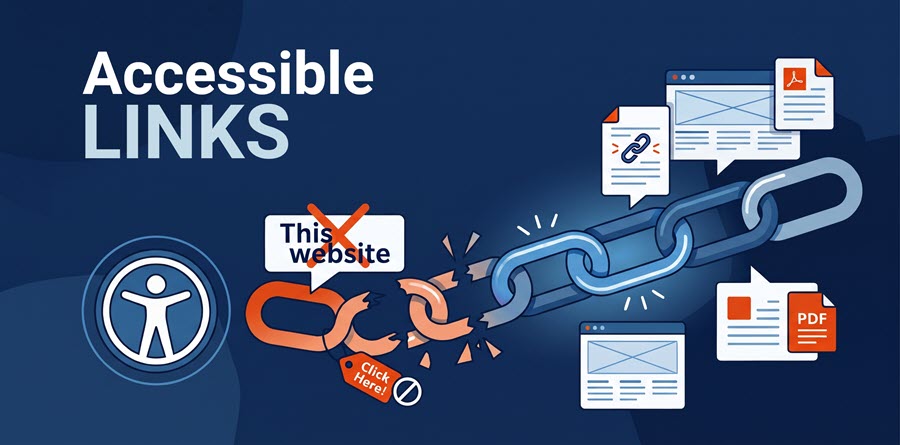
Welcome to this month's Digital Accessibility topic, the "E" of HEAL: Explanatory Links. Our October post is Part 2 of 4 in the HEAL Framework blog series.
Quick Summary
- Always place web links on explanatory text that describes where the link will go.
- Don't use generic words like "click here" or "this website."
- Use short, concise link text, ideally limiting links to about 2-5 words.
- Avoid using a full web address in a message, document, or page (except citations or very short URLs).
- Links should be unique and consistent. Never repeat the same link text when links point to different locations.
Who Should Read This Article
- All faculty.
- All employees who create email messages, documents, webpages, etc.
The Power of Explanatory Links
You create content for our community, whether syllabi for students, academic program websites, marketing emails, or other University-related materials. In your work, you often need to share web links to connect people with important resources. When you place web links on generic words like "click here" or "this website," you can actually create confusion rather than connection. Learn how to break any bad link naming habits and make your content more usable and helpful to everyone!
Why "Click Here" Fails
Generic links aren't helpful; they distract rather than enhance. When you use generic links, you:
- Reduce Readability and Efficiency: You want your content to have an impact. In a world of short attention spans and content scanning, web links draw attention — shouldn't that attention go to something concrete and relevant? Give your readers the quickest access to your important resources by using proper link names.
- Hinder Assistive Technologies: Community members who use assistive technologies navigate the web with screen readers. Screen readers often provide lists of links or allow people to jump from link to link. Without the context of the surrounding words, imagine what it's like when a screen reader simply says "click here," "learn more," or "this website." None of those labels provide the necessary information about the link or why someone should follow it.
- Discourage Trust: A link labeled "here" could literally point anywhere. You want to promote trust by sharing better information about the link destination and what to expect when they click it.
The Fix is Easy!
Explanatory links are faster to write, and transforming old links will only take a moment. Please follow these strategies when creating or editing web links:
 Explain Where the Link Goes
Use specific words that describe the destination of the link. Consider placing links on the subject or direct object of your sentence as an easy rule of thumb. Avoid any generic words or vague link names (e.g., "click here," "this link," "this website," "learn more," etc.).
Make Links Unique
Don't repeat the same link name unless it points to the same location. For example, don't use multiple "Register Now" or "Learn More" links if each link points to a different event, page, or resource. Instead, customize the links to make them unique and clear.
Keep Links Short
As they say, less is more! Don't place links on an entire paragraph or more than a few words (try for 2-5 words if possible). Essentially, place links on enough words to be clear, but omit unnecessary words, such as link, page, or website.
Linking to a File? Please Include the File Type!
Help people understand whether the link opens a file or takes them to a form. Setting this expectation builds trust and helps to clarify the technical requirements for using the content.
 Avoid Full URLs
Place links on meaningful words rather than pasting a full address (e.g., https://...). Full URLs are challenging for screen reader users. Notable exceptions include works cited citations, shortcut URLs, or content intended only for print or live presentations.
Before and After Examples
In the following table, the square brackets ("[ ]") indicate where a web link would be placed. We have purposely omitted some links to avoid digital accessibility issues.
| Best Practice Category | Before: Bad Link Naming | After: Good Link Naming |
|---|---|---|
| Explain the Destination | To learn more about the Pepperdine University Mission, [click here]. | Learn more about the Pepperdine University Mission. |
| Include the File Type | To download our class syllabus, use [this link]. | Download our [ENG 101 Syllabus (PDF)]. |
| Make Links Unique | Ready to attend? Event 1: [Register Now]. Event 2: [Register Now]. | Ready to attend? [Register for Event 1]. [Register for Event 2]. |
| Keep Links Short | Want to know when your class will be available? [Visit the Pepperdine LMS Course Creation page]. | Want to know when your class site will be available? Visit the Pepperdine LMS Course Creation page. |
| Avoid Full URLs | You can learn more about digital accessibility at [https://community.pepperdine.edu/techlearn/accessibility/]. | Learn more about Pepperdine Digital Accessibility Resources. |
Bonus: Reserve Underlining for Web Links!
To improve the readability of your content, please use underline formatting only for web links. Have you ever caught yourself clicking an underlined word or phrase, thinking it was a link? I have, and so have many others. In our modern world, underlining has become synonymous with indicating a web link. If you need to emphasize text, stick to italics or bold formatting, and please reserve underlining for web links only. Your readers will thank you!
How to Add Links
Want to learn how to add web links on popular platforms? Please select a tool below to expand and find instructions.
Additional Resources
- HEAL Blog 1 of 4: Headings
- HEAL Framework
- ACCESS Checklist
- Faculty Resources for Digital Accessibility
Thank you for supporting all members of our Pepperdine community by adopting digital accessibility best practices!