Groups in Courses
What Does It Do?
Professors can create groups of participants within a class site. Once created, several tools can take advantage of groups to display items just for the members of those groups.
How You Can Use It
- Create folders in Resources that only members of a group can see.
- Create topics in Forums targeted to facilitate group discussion.
- Filter the roster by a group.
- Release an assignment to a specific group.
- Release assessments in Tests & Quizzes for a specific group (e.g. a copy of a test with extra time for students approved by the Office of Student Accessibility).
- Send a message or announcement to a specific group.
Instructions
- Click the tab for your course or project site.
- Click Site Info in the left menu.

- Click Manage Groups.

- Click Create New Group.

- Enter a title for the group (e.g. Team Alpha).
- (Optional) Enter a description.
- Select a name from the "Assigned Members" list. Note: To select multiple names, hold down the Ctrl key as you click on each name until
all names are selected (Mac users can hold down the Cmd key as they click on each
name until all names are selected).
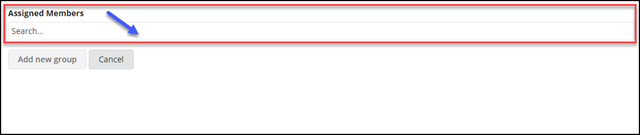
- Repeat until you've added all desired participants to the group.
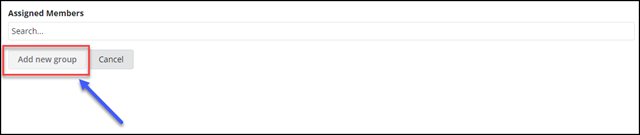
- Click Add New Group when finished.
IMPORTANT:
If you use the "group assignment" feature, please be aware that the groups you choose for the assignment will become "locked." This is important to avoid issues with grades assigned to a group assignment. If membership will change for different assignments or within the term, we recommend that you create unique groups for each assignment (e.g. Paper 02 Team A).
See Also:
- Create a group folder in Resources
- Create a group discussion in Discussions
- Official Sakai help page about groups (including Joinable groups)