Allowing Remote Desktop Connections to Your Computer
Overview
Authorized University faculty and staff with a business need to remotely access an office computer may configure the system to allow remote connection. Before attempting to remotely connect to another computer, ensure that the computer is configured to allow remote connections.
Instructions
Determine the Campus Computer IP Address
First, determine the IP address of the computer on the Pepperdine campus network to which you want to connect:
- Select the "Start" button.
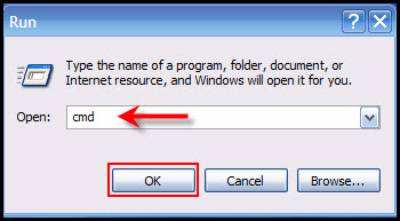
- Search for "Run" and select the Run system app.
- In the Run window that appears, type "cmd" and select "OK."
- In the black Command window that appears, type "ipconfig" and press the "Enter" key.
- The IP address will be shown as a series of 4 sets of numbers separated by periods.
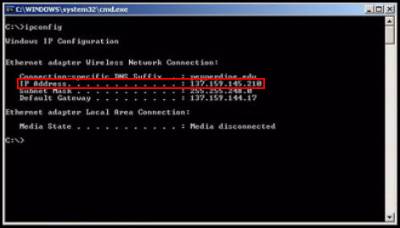
- Make note of the IP address
- Type "exit" and press the "Enter" key to close the window.
Configure Campus Computer for Remote Connection
These next steps are required to enable the Pepperdine networked Windows computer to accept a remote connection. Do the following on the work computer.
- Right-click on "This PC" (formerly "My Computer") and select "Properties."
- On the "System > About" screen, scroll down and select "Remote desktop."
- Enable the toggle for "Remote Desktop." (Switch from Off to On.)
- By default, the computer owner or administrator is set to access the computer. Verify this or add additional users by clicking on the "Select Users" button to view the "Remote Desktop Users" window.
- "Add" or "Remove" any users.
- Verify that the approved names are listed.
- When done, select "OK."
See Also