Cisco Webex for Calling and Voicemail
 Overview
Cisco's Personal Communicator Webex solution supports phone calling and voicemail playback. This system allows Pepperdine faculty and staff members to easily make and receive phone calls, check voicemail, and communicate effectively from the convenience of their University-owned computers.
Reminders:
- Zoom is the preferred online meeting application for Pepperdine University.
- Google Chat in Google Workspace is the preferred messaging platform for Pepperdine University.
Webex Quick Start Guide
Application Start and Login
- Download the Webex application and move it into your Applications folder.
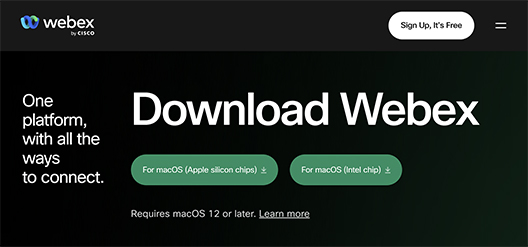
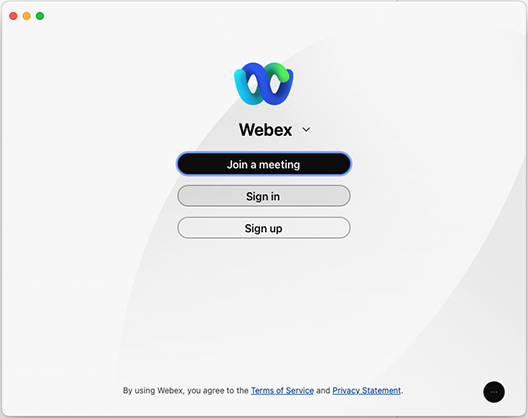
- Start the Webex application and select "Sign in" to get started.
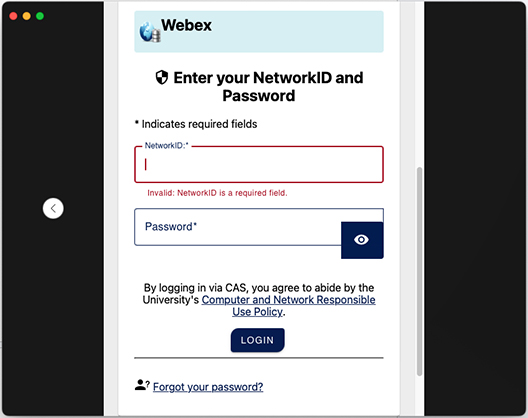
- Enter your email address.

- You will be redirected to CAS within the Webex window for authentication. Enter your
Pepperdine NetworkID and password, and then select "Login." Follow the SecureConnect
multi-factor authentication (MFA) process.
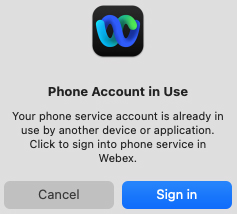
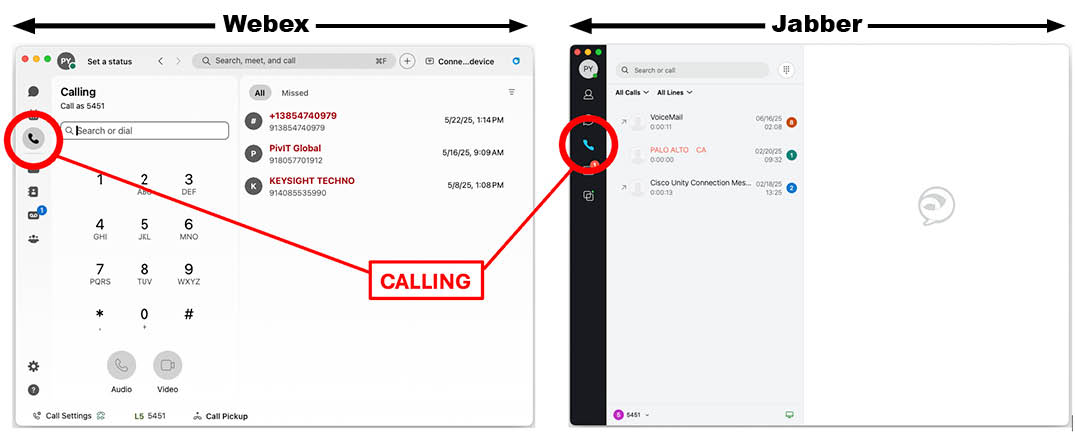
- If you had Jabber running and phone services registered with Jabber, a Webex prompt
will ask if you'd like to "Sign in" to phone services with Webex. Please "Sign in" to
register phone and voicemail service with Webex and unregister this service from the
Jabber application (if applicable). (If you select "Cancel," the phone service will
remain registered with Jabber. Jabber service will be discontinued later this year,
so we highly recommend transitioning to Webex.)
Using Webex for Calling and Voicemail
Calling
Voicemail
 * If voicemail is configured to send-to-email only, messages will not appear here.
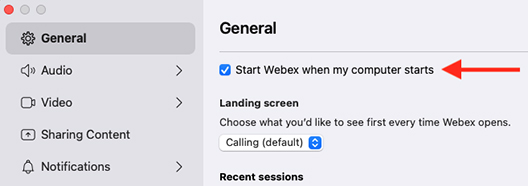
Setting up "Start Webex When My Computer Starts"
- Select "Call Settings" and choose "Open Call Preferences."
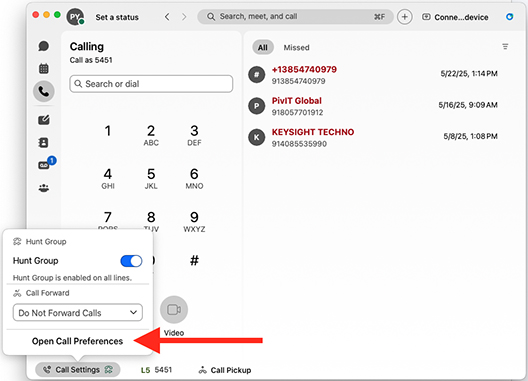
- Enable the option to "Start Webex when my computer starts."
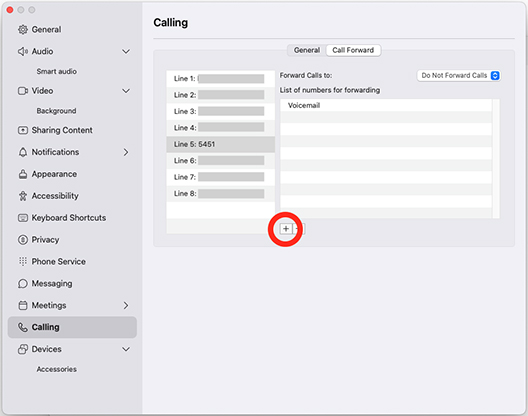
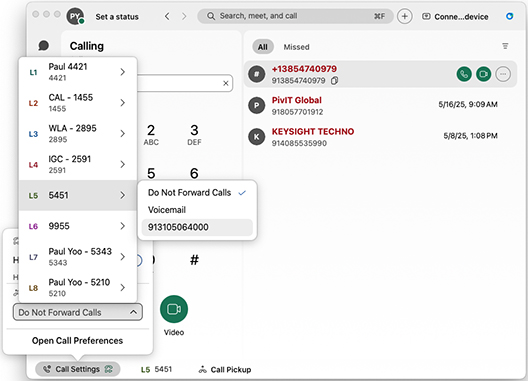
Enable Call Forwarding
- Select "Call Settings" and choose "Open Call Preferences."
- Select "Calling" from the left menu.
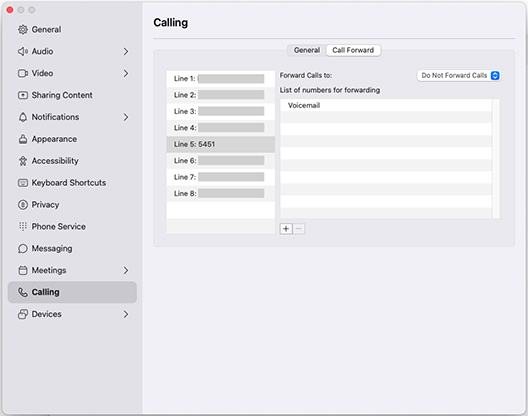
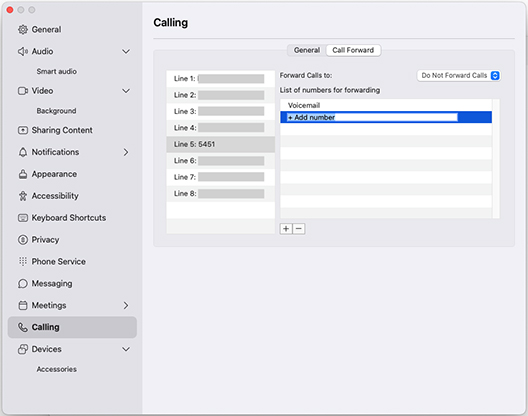
- Select the "Call Forward" tab at the top, and then select "+" to add a new call forward
destination.
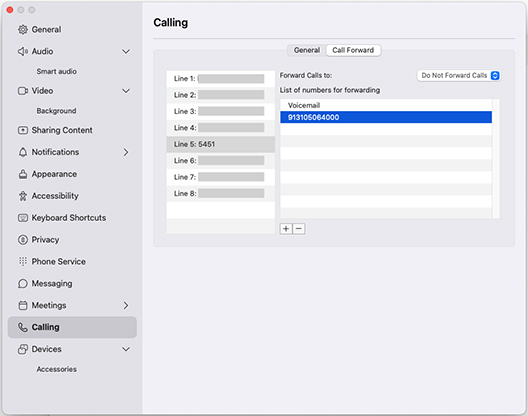
- Enter the destination number (remember to add the leading 9 for an external number).
- Close the Call Preferences window and select "Call Settings," then "Do Not Forward
Calls."
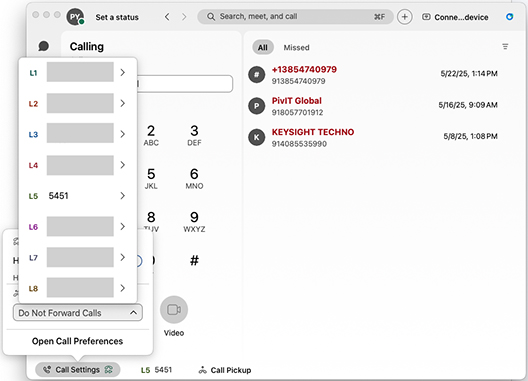
- Select the line for which you'd like to set call forwarding and choose the new destination
that was created.
Disable Call Forwarding
- To disable call forwarding, select the "Turn off" button near the top. You can also
select "Call Settings," select the "Call Forward" line, and then choose "Do Not Forward
Calls" to disable call forwarding..
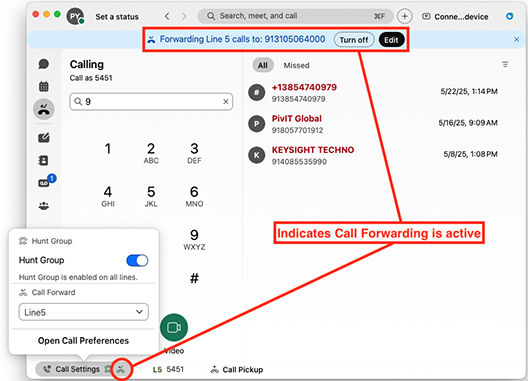
- Select the "Edit" button to return to the Call Preferences, if needed.
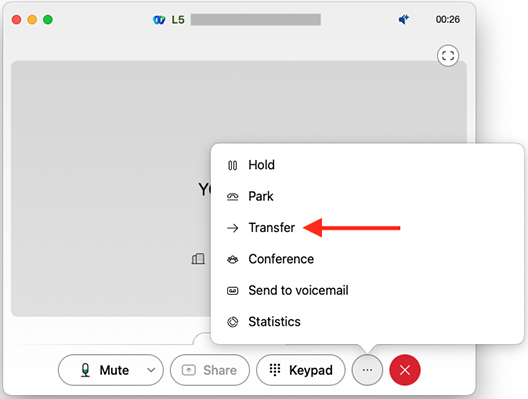
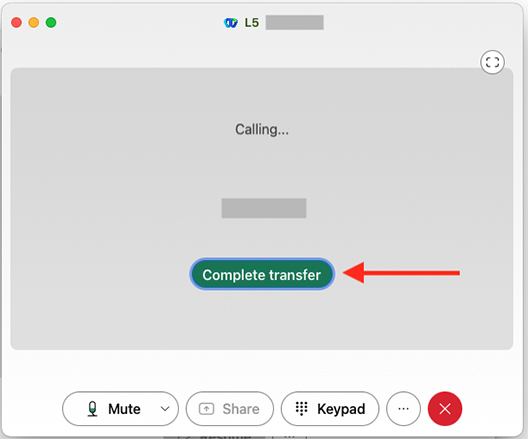
Transfer a Call
- If you need to transfer a call, select the ellipsis button (3 dots or "..."), then
select "Transfer."
- Enter the extension to which you'd like to transfer and select the Audio Call button.
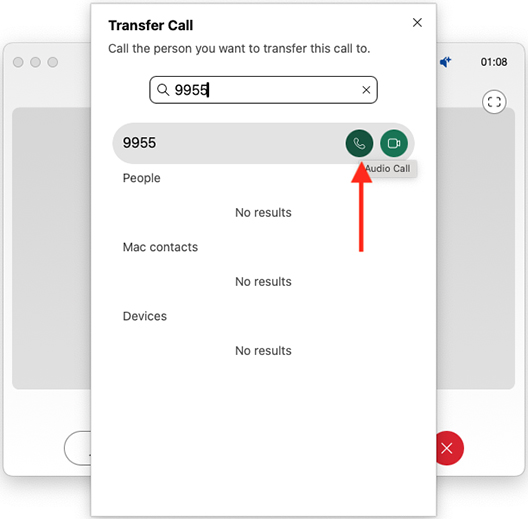
- Select the "Complete transfer" button to transfer the call.
Initial Login and Setup
If you have been using Webex, please sign out and sign back in to enable E911 services feature.
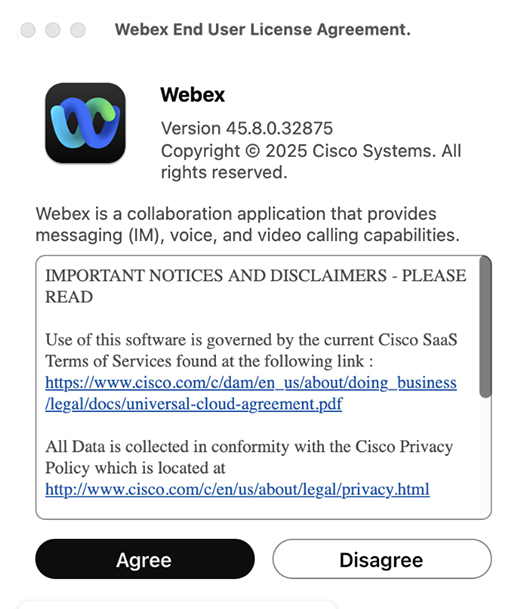
If installing Webex for the first time, please follow these instructions to set up Webex with E911 services. After starting Webex, you will be prompted with the Webex End User License Agreement. Select Agree to continue.
Webex app will start up. Select Sign-In to begin.
Enter your Email address and select Next.
You will be redirected to Pepperdine CAS to authenticate.
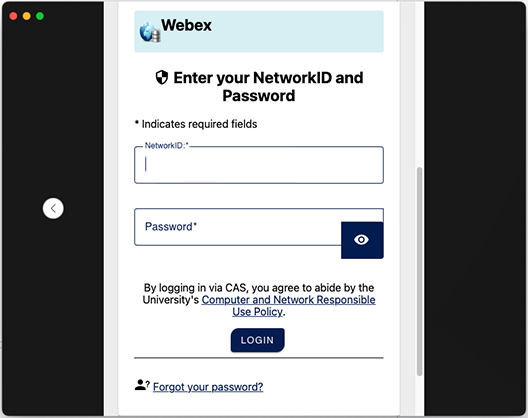
Authenticate using your username and password, followed by MFA Authentication using DUO.
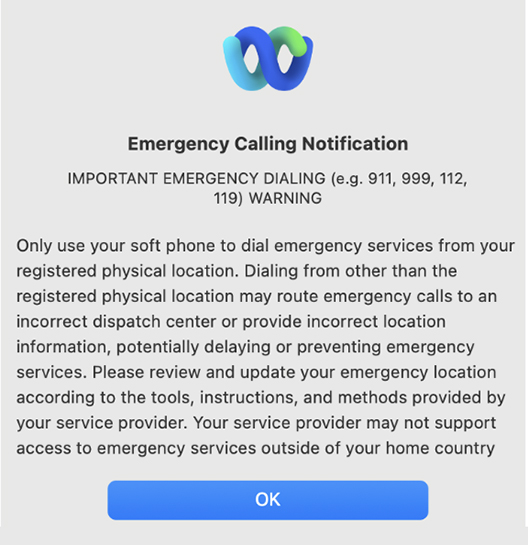
Once authenticated, you will be prompted with the Emergency Calling Notification.
Select OK to continue.
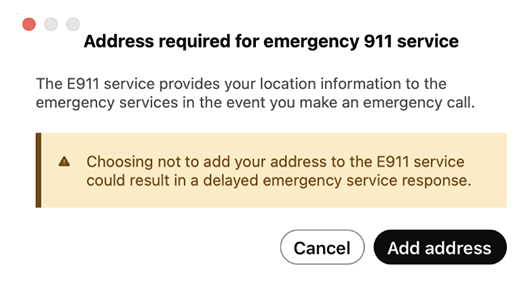
Once Webex has signed in and activated the line, you will see another prompt highlighting the need for location information (address) for Emergency 911 Services. Please note that choosing not to add your address may result in delayed emergency service response.
Select Add Address to continue.
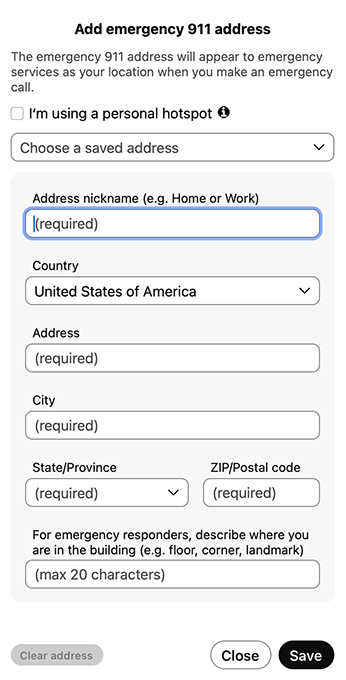
Enter a nickname and address and select Save.
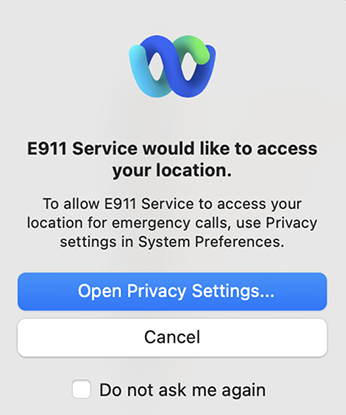
You will be prompted to allow location services for E911 services through Webex.
Select Open Privacy Settings… to continue.
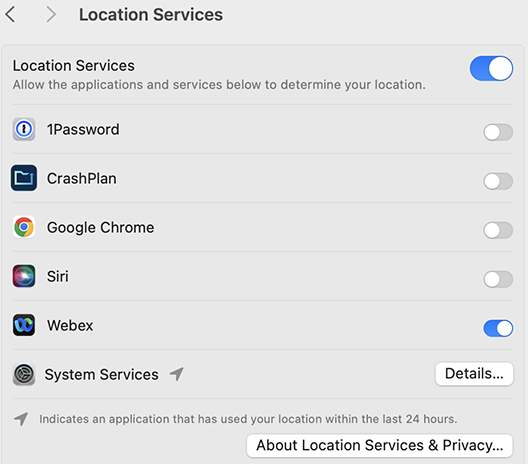
Enable Location Services and Webex.
Return to Webex and confirm the visual green checkmark in the circle next to E911 settings.
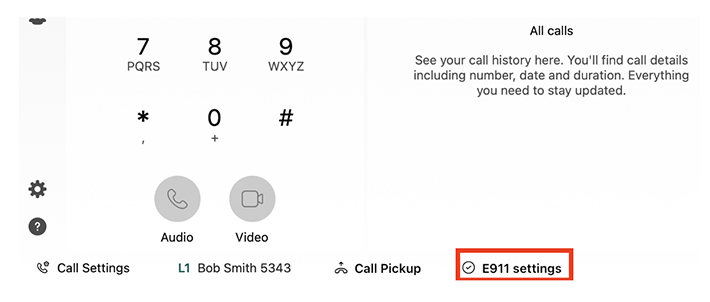
Click the E911 settings button to return to the address input window.
Select Save to confirm changes or Close to return.

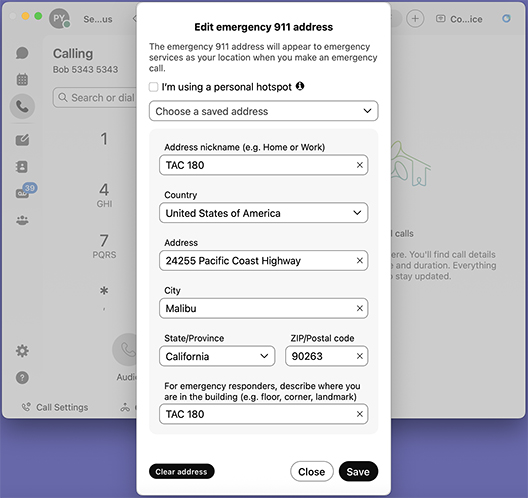
Select I’m using a Person Hotspot if using a hotspot device. Webex recommends using a mobile device when making emergency calls in such cases.
