VPN Installation for Macintosh Computers
Overview
This page contains instructions for installing and launching the Virtual Private Network (VPN) client on an Apple macOS (Macintosh) computer. NOTE: Only authorized faculty and staff are granted access to the VPN.
For additional support, please contact Tech Central.
Step 1: macOS VPN Client Installation
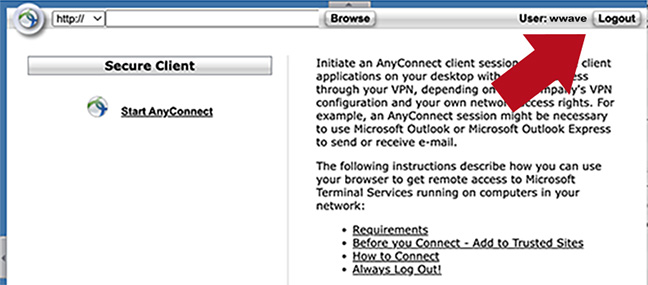
- To receive the macOS VPN installer, go to https://vpn.pepperdine.edu
- On the following screen, ensure the "Group" is set to SecureConnect.
- Enter your Pepperdine NetworkID and password in their corresponding fields.
- In the Authenticator field, enter "push" (recommended) for a SecureConnect "push" notification to your device. You may also enter "sms" for a text message or "phone" for phone call authentication, depending on your authentication device.
- Select the "Login" button to proceed.
- A disclaimer window will appear after logging in. Select the "Continue" button to finish the VPN login and installation.
- This will connect your machine to the VPN and install the VPN Client on your computer.
- When the software installation is finished, you can close your web browser.
Step 2: Launching the VPN Client
- Open the VPN client software in Applications\Cisco.
- The Cisco Secure Client window will display. If not listed, enter vpn.pepperdine.edu. Then select Connect.
- The following program window will display. To configure your VPN client, the fields
below should be populated as follows:
- Group: SecureConnect.
- NetworkID and Password: Enter your Pepperdine NetworkID and password.
- For the Authenticator (or Second Password) box, type in either:
- Push
- Phone
- Or enter the Duo Passcode from the Duo App on your phone.

- Click OK to establish a VPN connection. A disclaimer will appear. Read the notice and select the "Accept" button.
- When successfully connected to the VPN, a small VPN icon will appear in the upper-right corner of your desktop taskbar.
- When you finish your session and wish to disconnect from the VPN, select the VPN icon
in the upper-right corner of your desktop, and either disconnect or quit the application.
← Back to Network Information.